Introduction
When it comes to selling products online, pictures are the key factor to drive sales. Product photography is one of the important factors that is needed to be considered while
setting up your ecommerce store. On a website, people can’t touch or feel the product that you offer. Words and photos are the only way to influence people to buy. A good product with the amazing photography can help you to sell more.
Many people make this mistake of loading up low-quality images and wonder why there are less page views and low sales. We’ve put together this product photography guide full of tips. We’ll help you to learn how to take product photos the right way, tell you about the equipment's needed, and how to set it up.
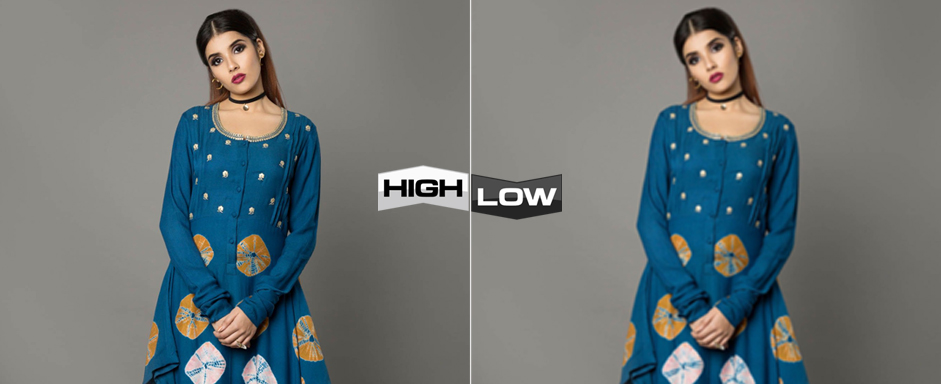
Photography can be difficult for beginners, but it’s a challenge you can definitely overcome –
Five components of the product photography with camera
Plan and Organize
Planning how to proceed with the photography is essential to reduce the hassle. There are certain questions that you should answer before starting with it.
- Planning for the photoshoot?
- What all images are required?
- What is your shooting location?
- What kind of shots do you need for banner images (hero images) and product images?
- What equipment will you be using?
- How you should set your photostudio?
- What software will you use after the shoot?
Organizing your product can help you in making the process of photography a bit easier. When starting with the photography ideally you should have all your products cataloged by collection (category) color, and any other identifying information.
Managing your shoot and work flow will save time, minimize expenses, and result in best quality images.
Prepare
Prepare your shots, make a short list. A short list that consists of all the images you want to capture. It should include the products that you have, the angles required, details to highlight, and which item should be paired with your product while assembling looks.
While preparing the shots you need, take care about the types of equipment that are required.
The need of the tools that are required is determined by the product you have and the budget you want to work with. For most products, you can achieve good results with a DSLR camera, tripod, backdrop, and an artificial lighting kit. It’s desired to have a laptop to see the clicked picture immediately as in the small screen of camera it is difficult to view every detail.
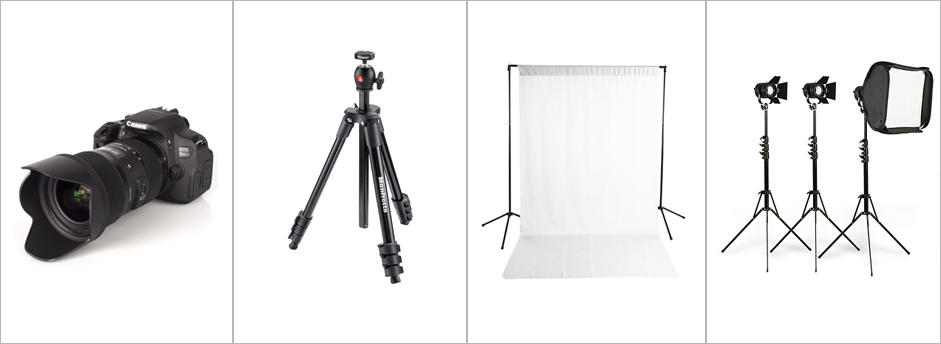
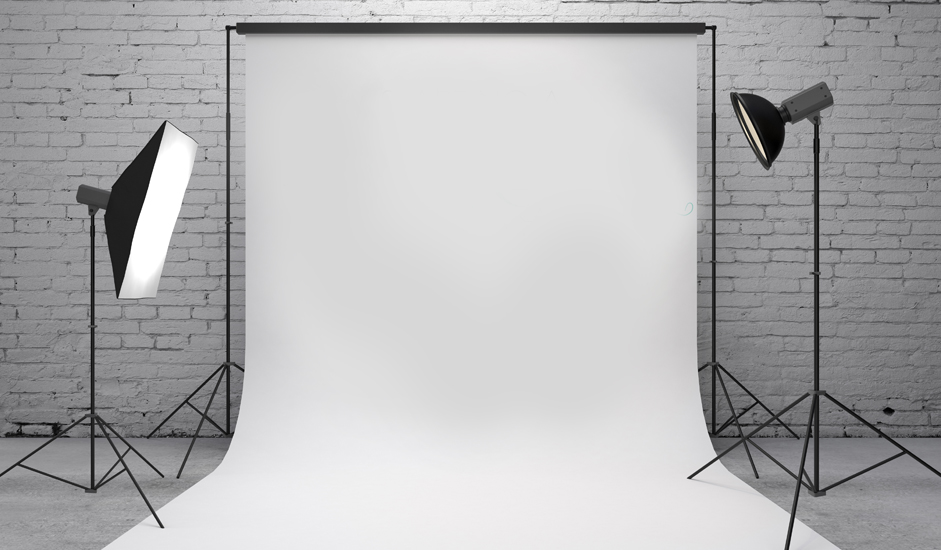
Backdrops are essential to make your pictures look a bit more professional, this problem can easily be resolved with the roll of seamless white background. You can get cloth or you can get the paper as they are inexpensive and widely available. The positioning of the backdrop can be done with a C-stand or tape.
If the size of your products is small then consider yourself lucky. There are DIY photo studios, like the
Foldio, that you can buy under 7k. These are some beneficial investments for e-commerce entrepreneurs especially when you frequently want to add new products at your store. They are handy, easy to setup and effectively improves the quality of your product photography without breaking the bank.
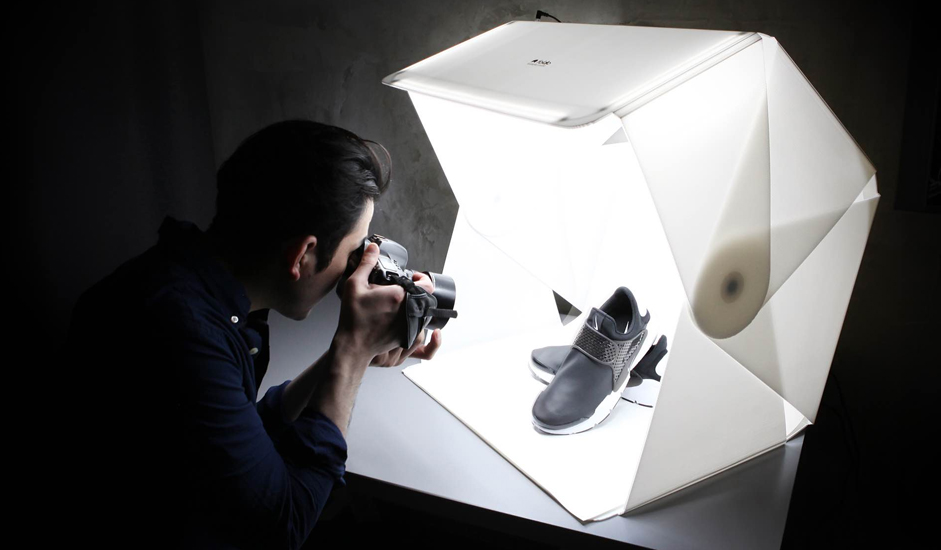
If you’re on a tight budget, you can try using a smartphone as your camera for the product photography.
Test shoot and adjust your camera Settings
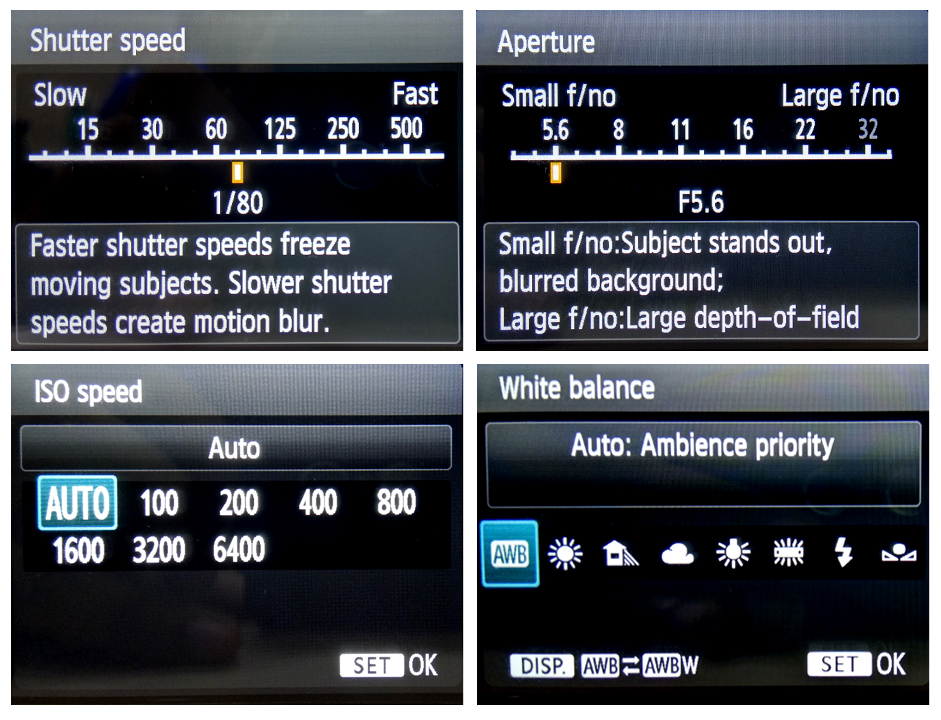
After you are done by selecting your equipment's and building a customised studio work space, it’s time to set up your first product. Once you have your product in place, take a test shot to adjust the camera settings and composition according to your needs. For detailed description of the desired camera settings you can check out how to set up Shutter speed, Aperture, ISO, White balance, Focal length for DIY product photography.
Product Photoshoot
When you have thoroughly measured your studio setup and documented your camera settings, it’s time to begin the shoot. The best approach to photography is to shoot like Photoshop does not exist.
Don’t think that you or someone else can “fix” mistakes in Photoshop. Try everything that can help you create the images that are close to your desired final image as possible.
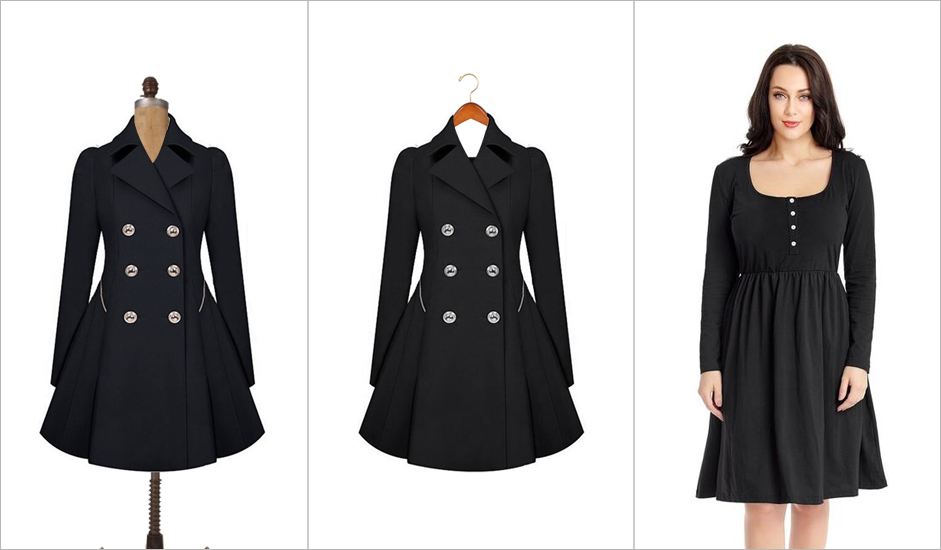
There are multiple ways to shoot apparel:Flat, on a mannequin or hanger, on model. Depends on your budget what will you prefer, you can use mannequins for your product images. They are an efficient and cost-effective way to promote your products. Mannequins allow your products to hold their shape, which can make product images more professional and consistent — thereby increasing their desirability to customers.
 Click images with multiple angles:
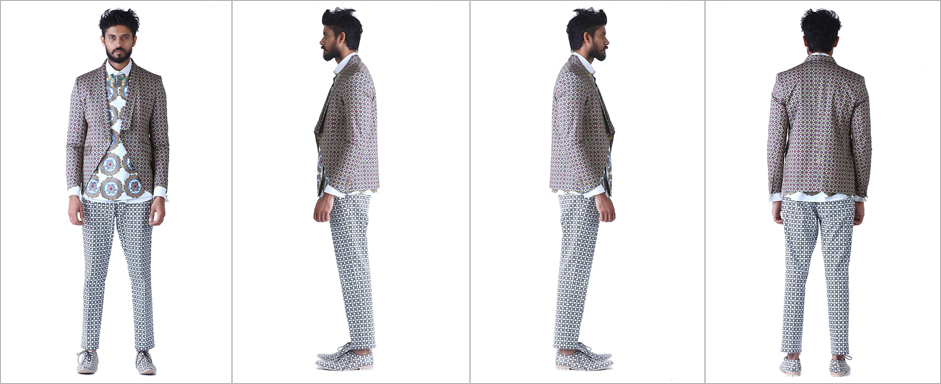
 It will ensure your customers about the product that you are offering. Shoot as many images as possible. It is prescribed to shoot the front and back, 45 degree angles, left and right sides, and any essential subtle elements of it. The more the shots, the better the result. Having more images per product on your website has been demonstrated to increase sales. Customers will be able to trust the impressions of the product if it’s backed up in multiple photographs from various angles.
 Check the background
 It is recommended to use a white or light grey backdrop to prevent distractions and to capture colors as accurately as possible. Seamless rolls of white paper are ideally suited, cheap and readily available at any photography supply store.
You can utilise a C-stand to hold the seamless. Sweep the roll to the floor so it is bended, anticipating wrinkles and diverting shadows, and affix it with tape. In case you're low on the spending plan, you can tape the seamless roll to the ceiling or a wall. Position your item on a model or mannequin in the middle of the background.
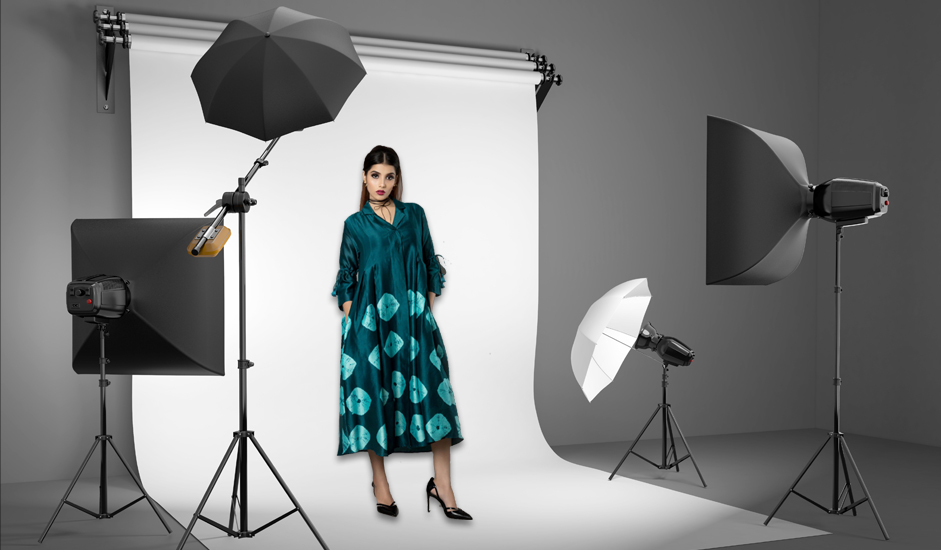
Proper lighting The proper light will yield the desired results. There are multiple sources of light, natural window light being the most inexpensive and high quality light source. However, if you have the adequate budget, we exceedingly prescribe that you lease or put resources into a simple to utilise lighting kit. Having the artificial lighting equipment at your place will enable you to shoot even when there is no natural light available.
Having proper equipment's will increase the productivity. Lightning kit will have a light head, softbox, C-stand, battery pack, and pocket wizard. It is recommended that you start with a mono strobe light head, called a “monolight.” Mono strobe may be the most costly part of your unit, perhaps more costly than your camera so it is ideal to require some investment and research before you contribute any cash. The softbox is required to diffuse light and catch your item in an equally lit and engaging way. A pocket wizard will synchronise your camera and the light, fundamentally transforming your light head into its blaze. The battery pack controls your light.
Post-production of images
When everything is done with excellent product images, it’s time to optimise your images for the web. There are multiple software’s available for post production such as Lightroom, Adobe’s Photoshop. You can take the advantage of Adobe’s Photoshop the powerful image editing software for the post production of the images as it is the important part to get the desired image without technical defaults.
 Batch Process with Lightroom
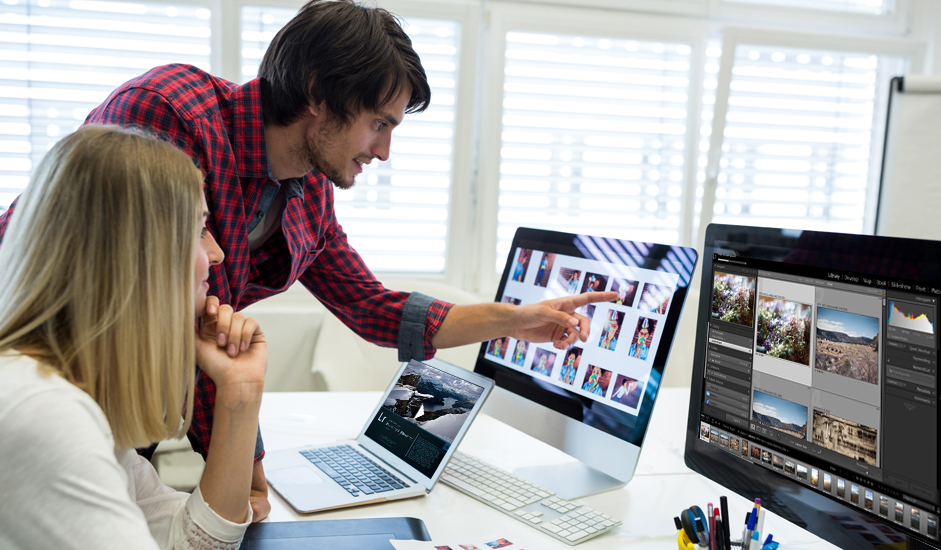
 Lightroom is your go to app for organizing, enhancing and sharing your images, whether they are from your phone or DSLR. Try not to sit around idly repeating a similar change on various pictures. Take advantage of professional picture altering programming, especially the Adobe Creative Suite.
Color correction, for instance, should be possible altogether utilizing Adobe Lightroom. Lightroom is planned for photography experts and matches perfectly with the better known Adobe photoshop.
Take advantage of Adobe's effective picture altering programming Lightroom is a photograph processor and coordinator that exceeds expectations at bunch preparing a lot of pictures. Utilize Lightroom to alter the white balance, exposure and contrast on a single image and then synchronize your adjustments across an entire selection.
CONCLUSION
Considering the fact that product photography is a major part of the ecommerce business. You can either outsource to the professional photographer or you can do it by yourself by implementing the above points.